How to Take Product Photos with an iPhone (2026 Beginner's Guide)
You don't need a DSLR or a studio to take product photos that sell. Here's how to get professional results from the iPhone in your pocket.
If you're selling products online - Shopify, Etsy, Amazon, Instagram - you need good product photos. The good news is that the iPhone in your pocket is a genuinely capable product photography camera. The bad news is that 'capable' doesn't mean 'automatic' - you still need to understand lighting, composition, and a few camera settings to get results that look professional rather than amateur.
This guide walks through the entire process, from setting up your shooting space to editing the final image. By the end, you'll be able to produce product photos that look like they came from a studio - without spending more than $20 on equipment (and $0 if you already own a desk lamp).
What you'll need
Before we get to technique, let's talk gear. The beauty of iPhone product photography is that the barrier to entry is extremely low. Here's what you need, in order of importance:
- 1An iPhone (iPhone 12 or newer - anything from the last 5+ years will work great)
- 2Natural light from a window, OR a cheap LED desk lamp ($15–$25)
- 3A plain background - white poster board ($3), a bedsheet, or even a blank wall
- 4A makeshift sweep - tape the poster board to a wall so it curves down onto a table (this creates a seamless background)
- 5Optional: a small tripod for your phone ($12 on Amazon) - eliminates camera shake
- 6Optional: a piece of white foam board as a reflector ($5) - bounces light back onto shadows
That's it. No fancy lenses, no lighting kits, no lightboxes. The photo you're about to see below was taken with an iPhone 13, a $3 poster board, and a north-facing window.
Step 1: Set up your shooting space
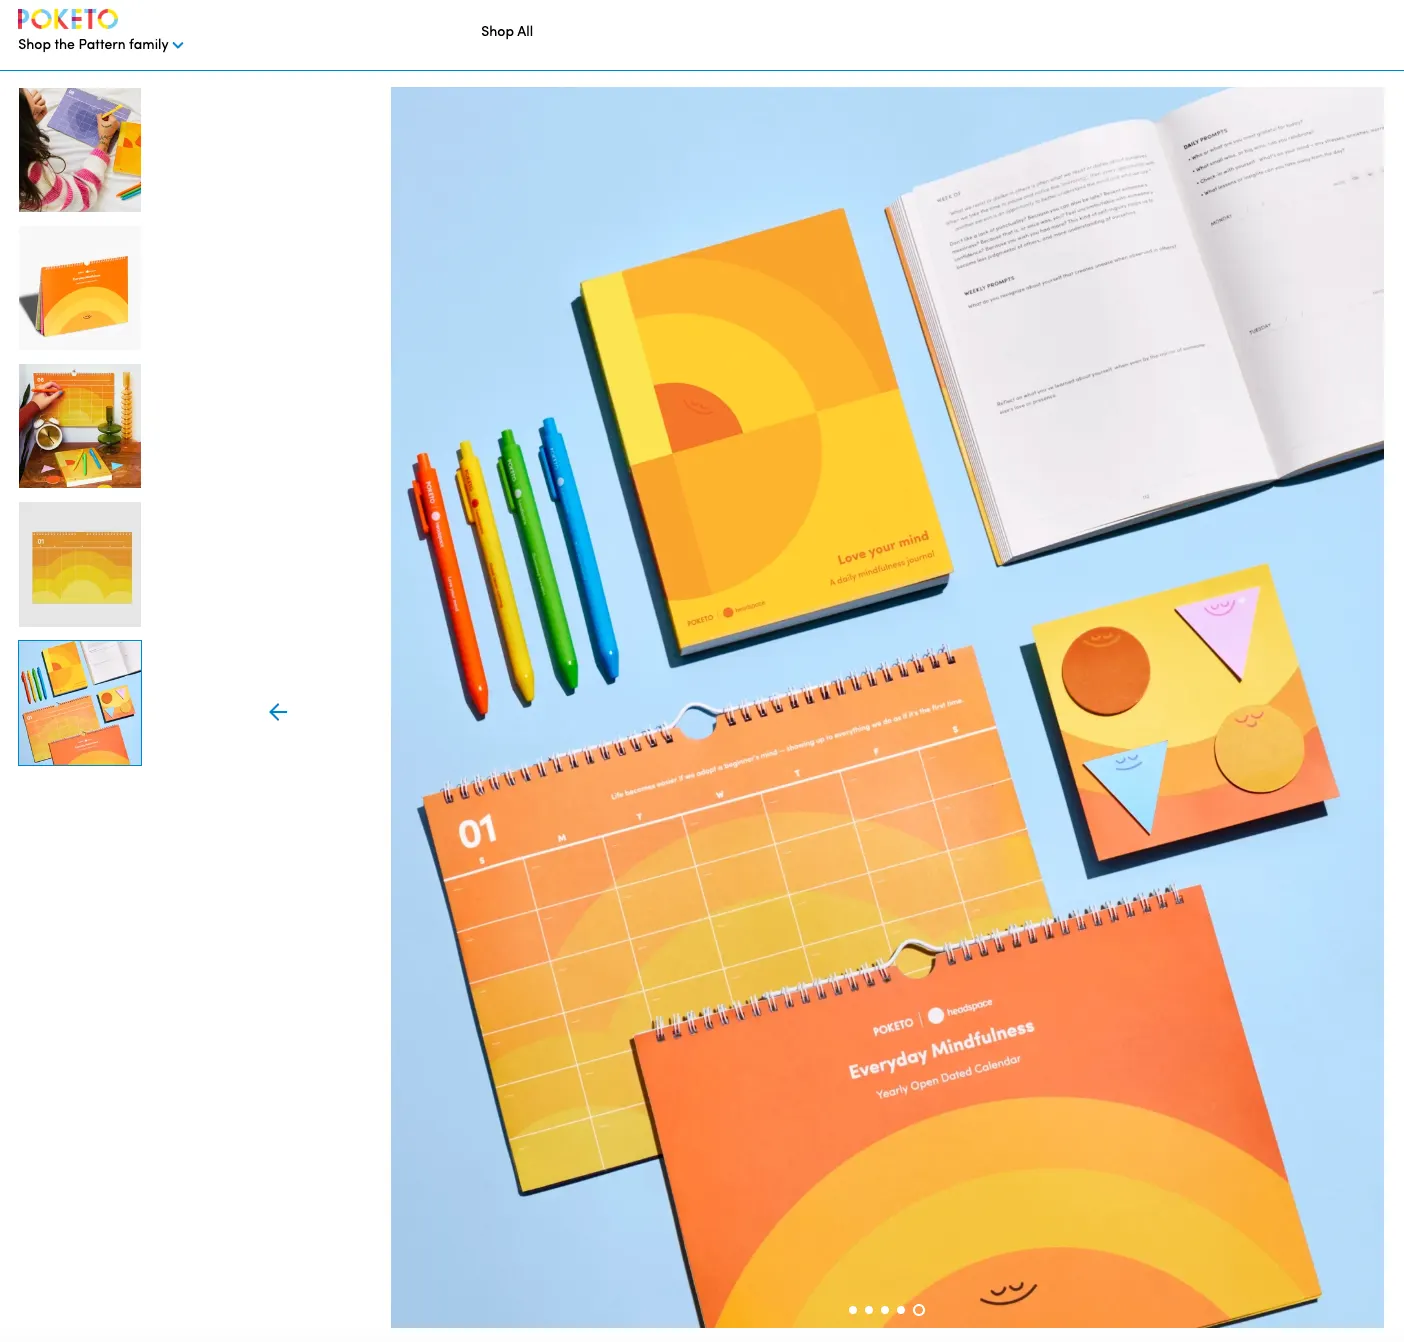
Your shooting space is more important than your camera. A great camera in a bad lighting setup will produce worse photos than a mediocre camera in good light. Here's how to set up a basic product photography corner in your home or office:
Find the right window
North-facing windows (if you're in the Northern Hemisphere) give soft, even light all day - this is the gold standard for natural light product photography. South-facing windows give harsher, more directional light that's harder to work with. East windows are great in the morning; west windows in the late afternoon. Avoid direct sunlight - it creates harsh shadows and hot spots. If the sun is hitting your product directly, hang a thin white curtain or tape a piece of tissue paper over the window to diffuse it.
Build a sweep
A 'sweep' is a seamless background that curves from vertical (the wall) to horizontal (the table) without a visible crease. To make one: tape the top edge of a white poster board to the wall about 2 feet above your table, then let it curve down onto the table surface. The curve should be smooth - no hard fold. Place your product on the horizontal part of the sweep, a few inches in front of the curve.
Position your product
Place your product about 18–24 inches from the window. This gives you soft, directional light from one side. If the shadows on the opposite side are too dark, prop up your white foam board on the shadow side, angled to bounce window light back onto the product. This is called a 'fill card' and it's the single biggest upgrade you can make to your setup.
Step 2: iPhone camera settings
Now let's talk about the camera. The iPhone's default Camera app is fine for snapshots, but for product photography you want more control. Here's the setup I recommend:
Turn on grid lines
Settings → Camera → Grid. This overlays a 3×3 grid on your viewfinder so you can use the rule of thirds (place your product at the intersection of the grid lines rather than dead center - it's more visually interesting).
Tap to focus, then lock
Tap on your product in the viewfinder to set focus. Then press and hold on the same spot until you see 'AE/AF Lock' appear at the top of the screen. This locks focus and exposure so your phone doesn't readjust when you move slightly. This is critical for product photography - you want consistent focus and exposure across all your shots.
Adjust exposure
After locking focus, you'll see a small sun icon next to the focus square. Drag it up to brighten the image, down to darken. For product photography on white, you typically want to drag it up slightly - this overexposes the white background slightly, making it pure white (which is what Amazon and most marketplaces require).
Use the right lens
If you have a phone with multiple lenses (iPhone 13 Pro and later), use the 1x (wide) lens for most products. Avoid the 0.5x ultrawide - it distorts the product. The 2x or 3x telephoto is good for smaller products like jewelry because it compresses perspective and lets you shoot from further away (less distortion).
Don't use portrait mode
Portrait mode is for people, not products. It applies a blur effect that looks artificial on objects and can blur out important parts of your product. Stick to Photo mode.
Step 3: Composition basics
Good composition is what separates 'a photo of a product' from 'a product photo.' Here are the four composition rules I follow for every shoot:
- Fill the frame: Your product should take up 60–80% of the image. Don't leave huge empty space around it unless you're deliberately showing context.
- Shoot straight on, then 45 degrees: For catalog images, shoot straight on (camera at product's eye level). For lifestyle/hero shots, shoot from 45 degrees above.
- Keep props minimal: If you use props (a sprig of lavender next to a skincare bottle, a coffee cup next to a wallet), use one or two max. Props should support the product, not compete with it.
- Mind the background: Even a white sweep can show dust, fingerprints, or creases. Check the background through your viewfinder before each shot.
Step 4: Editing on iPhone
Editing is where good product photos become great product photos. You don't need Photoshop - the built-in Photos app has everything you need for 90% of product photography. Here's my editing workflow:
- 1Open the photo in Photos app → Edit
- 2Crop: Square (1:1) for catalog shots, 4:5 for Instagram/Meta ads. Make sure the product is centered and fills the frame.
- 3Exposure: Bump up slightly (+10 to +20) if the background isn't pure white yet.
- 4Highlights: Drag down (-20 to -30) to recover detail in bright areas of the product.
- 5Shadows: Drag up (+15 to +25) to open up dark areas without making it look flat.
- 6Warmth: Adjust slightly cooler (-5 to -10) - product photos look more premium when they lean cool rather than warm.
- 7Sharpness: +15 to +25. Don't overdo it - you want crisp, not crunchy.
- 8Vignette: -10 to -15 to slightly darken the corners and draw attention to the product.
If you want more control than the Photos app offers, the free version of Lightroom Mobile is excellent. The main advantage is the selective adjustment tool, which lets you brighten just the background without affecting the product - useful for getting that pure-white Amazon background.
Step 5: Or skip the shoot entirely with AI
Here's where I'll mention the obvious: if you've read this whole guide and thought 'this is a lot of work' - you're right, it is. And that's why AI product photography tools exist. The workflow changes from 'set up a sweep, wait for the right light, shoot 30 photos, edit the best one' to 'shoot one photo on your phone, upload it to an app, pick a backdrop, get a finished image in minutes.'
For most ecommerce sellers, the practical answer is a hybrid: learn the iPhone photography basics in this guide so you can take a clean, well-lit source photo (the AI tools all work better with a good input image), then use an AI tool like KromaSet to generate dozens of backdrop variations from that one photo. You get the quality of a real product photo with the speed and variety of AI generation.
References & Further Reading
- AI Background Generator for Product Photos: Complete 2026 Guide
Once you've shot a clean product photo, use AI to generate dozens of backdrop variations.
- 21 Skincare Product Photography Ideas That Actually Convert
Specific composition ideas you can shoot on your iPhone, organized by brand mood.
- 11 Best AI Product Photography Tools in 2026 (Tested & Compared)
Compare the top AI tools that can enhance or replace your iPhone photography workflow.
- Apple Support: iPhone Camera basics
Apple's official guide to iPhone camera features, including AE/AF lock and exposure adjustment.
- Shopify Blog: Product Photography
Shopify's comprehensive guide to product photography for ecommerce sellers.
Once you've taken a clean product photo on your iPhone, upload it to KromaSet and generate your first AI-staged ad creative in minutes. Free on the App Store.
Try it in KromaSet
Upload a product photo and generate your first ad creative in minutes. Free on iOS.